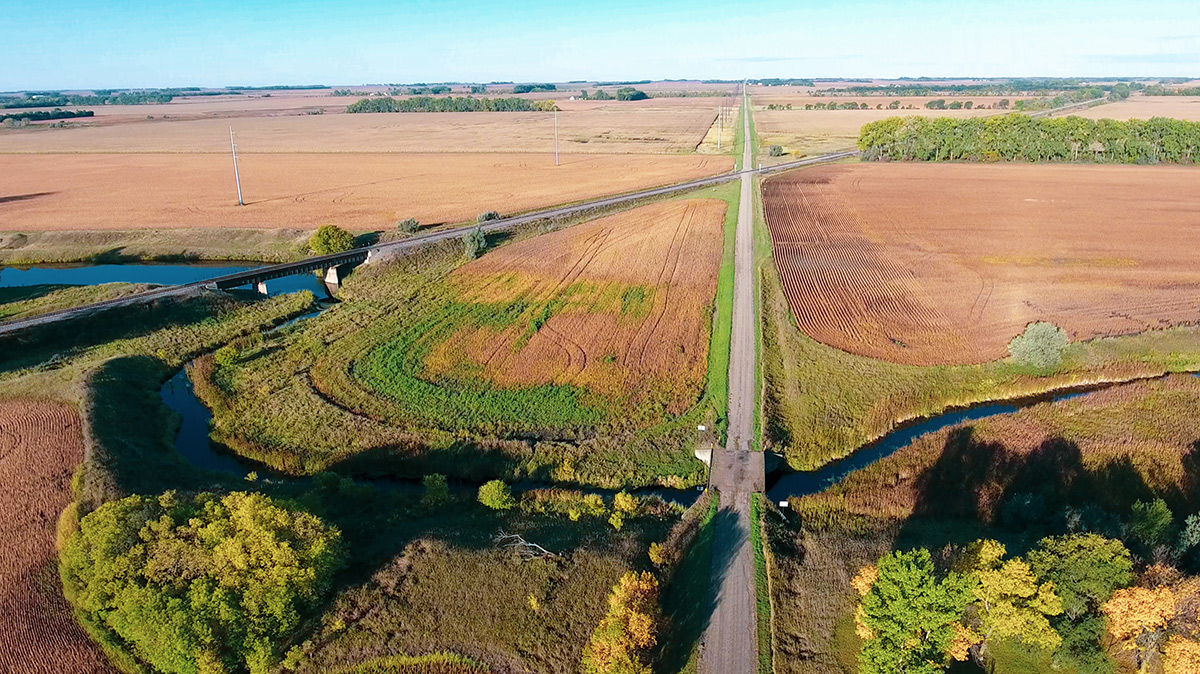
Drones are changing the way we see the world, and as the market continues to grow so do the possibilities. With pilots ranging from hobbyists and survey professionals to creators of blockbuster films, the uses for drones continue to expand. Aerial footage now appears in many different places.
Consumer level drones have become cheaper, safer, and more portable. The integration of GPS, stabilization, and high-resolution cameras have made it easier than ever to mimic the look of Hollywood style videos. Even with all of these advancements, the pilot still remains the most crucial piece of the final product. Here are 5 must-do tips to get you up in the air for a successful drone flight and stunning footage.
Preparation
In order to have a successful drone flight, appropriate steps must be followed prior to leaving the ground.
- Know your surroundings and the laws that apply in your specific area to avoid any danger or legal trouble.
- With the variety of brands and models of drones on the market, it’s important to know the ins and outs of your specific model. Becoming familiar with the controls, flight modes, and troubleshooting techniques of your drone before you go onsite can be crucial if a problem arises during flight.
- Bring a second person along during flights. This person can help provide an extra set of eyes on the drone as well as helping to spot any possible obstacles. A partner can also help occupy any onlookers who approach during the flight, allowing the pilot to remain focused on the flight.
Plan Your Flight
Along with finding potential dangers in your surroundings, become familiar with your location and prioritize the shots you need to save time while in the air.
- Most drone batteries only last about 20-30 minutes per charge, so every second counts. Planning out which shots are the most important and how to achieve them most efficiently will save you time and help avoid getting the dreaded “low battery” warning during a flight.
Composition
Everything looks different from above! This is what makes drone footage so intriguing, but also what many beginners fail to adequately consider. Even though being aerial creates a different perspective, it doesn’t mean that every shot will automatically work in every situation.
- Just like any other videography or photography, composition matters. When shooting a subject, if possible (and as battery life allows), it’s always a good idea to get a few different angles in order to make editing easier.
Slow Down
One of the biggest keys to creating cinematic drone footage is to maintain slow and smooth movements. Regardless of what you’re filming, the one thing that can ruin your footage is fast or jerky camera movements. When it comes to drone footage, one wrong move can ruin the look of an entire shot, so it’s important to know your drone and how it will react in different situations.
Settings and Natural Density (ND) Filters
Slow and smooth camera movements are key in creating beautiful and usable footage. However, this is easier said than done without the correct settings and experience.
- Review your drone’s settings to understand how to change the sensitivity of your controls, giving you more leeway when making movements.
- If you are new to drones, keep the camera settings in “auto” mode and focus on flying safely. As you begin to feel more comfortable in the air, you can begin playing around with settings like the camera’s shutter speed, white balance, ISO, aperture, and picture profiles which can dramatically change the look of your footage.
- In general, most professional video is filmed using the 180-degree shutter rule, which means keeping your shutter speed as close as possible to this equation: 1 divided by double your frame rate. For example, a shot in 24 frames per second should have a shutter speed of about 1/48 or 1/50 depending on what your camera allows. This setting is what is used in common productions and filmmaking because it produces the most natural amount of motion blur, matching what the human eye can see. The problem with this rule is that it can let in too much light when shooting in bright sunlight. Adding an ND (Neutral Density) Filter to your camera helps compensate for this by essentially creating sunglasses for your lenses, allowing you to dial in your shutter speed and frame rate without overexposing the image.
If you implement these 5 tips, I am confident you’ll have successful drone flights and create impressive footage. If you have questions about drone usage or if you’d like to share your aerial video tips, contact me at Cody.Schuler@ae2s.com or Tammy Jo Taft at TammyJo.Taft@AE2S.com.

